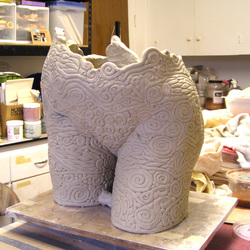
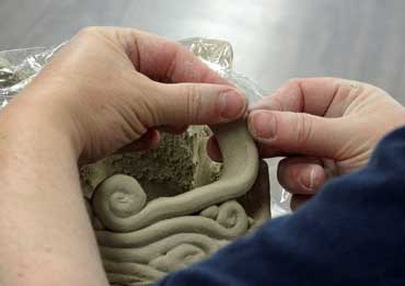
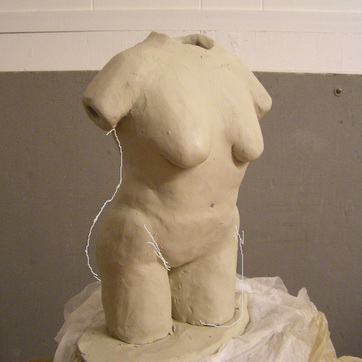
Ok, so these are not the most up to date photos, but they're the last ones I have at the moment! I'm going to be shopping for a new camera I think. Sigh. She's got a navel now, and most of a waist. I did a bunch of work on support inside, and reworked a couple areas that were not quite where they needed to be.
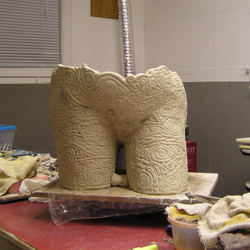
So far she's looking good! I'm still not happy with how long this is taking though....
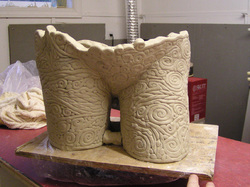
So far she's looking good! I'm still not happy with how long this is taking though....
 RSS Feed
